
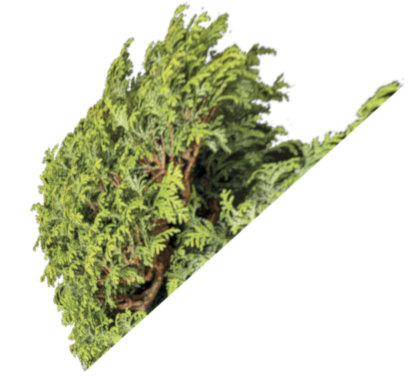
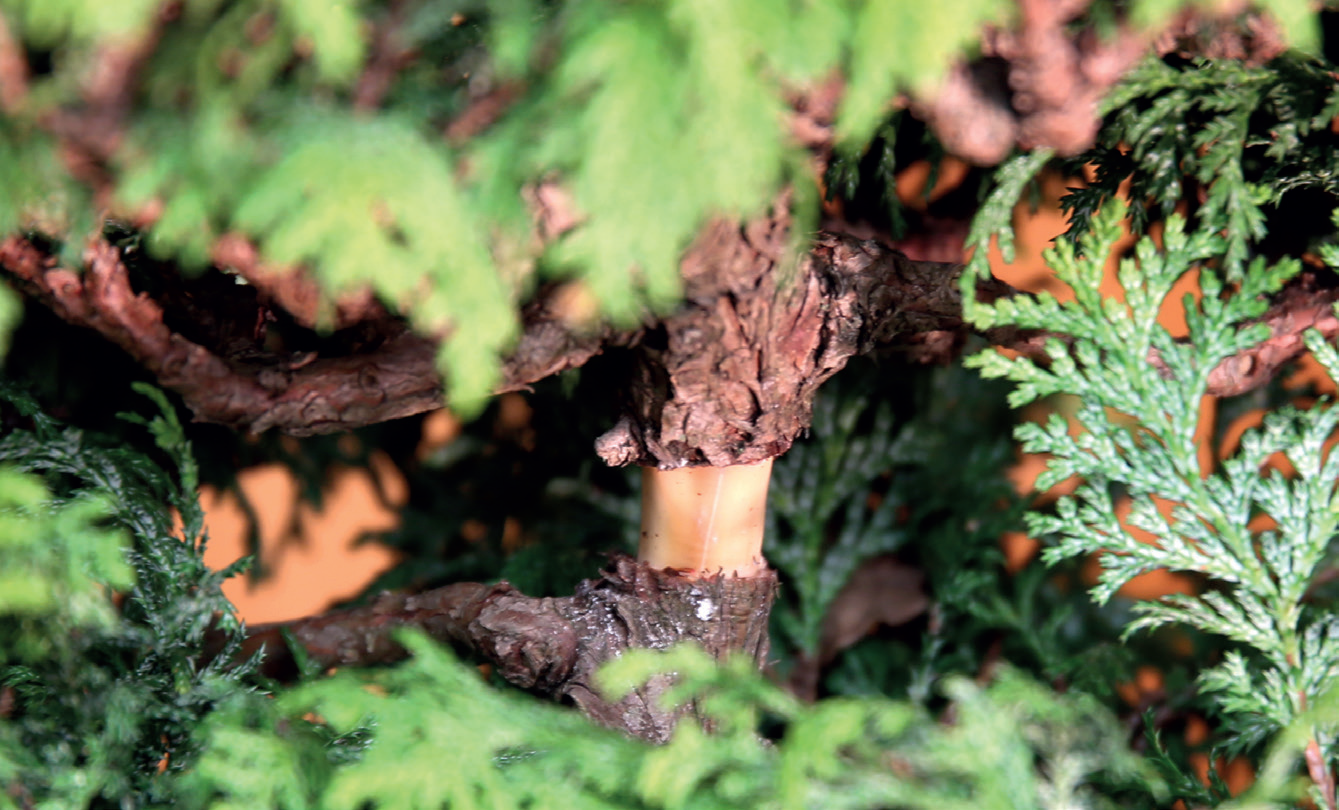
Another possibility for reproducing parental plants is the air layering technique, which consists of encouraging new roots to grow at a certain point of a branch or trunk. The ideal timing for layering is as soon as the plant is in full growth, i.e., in late spring or early summer. There will still be enough time for the roots to grow, and after the tree is cut, there will be enough time for the new tree to grow before hibernation.
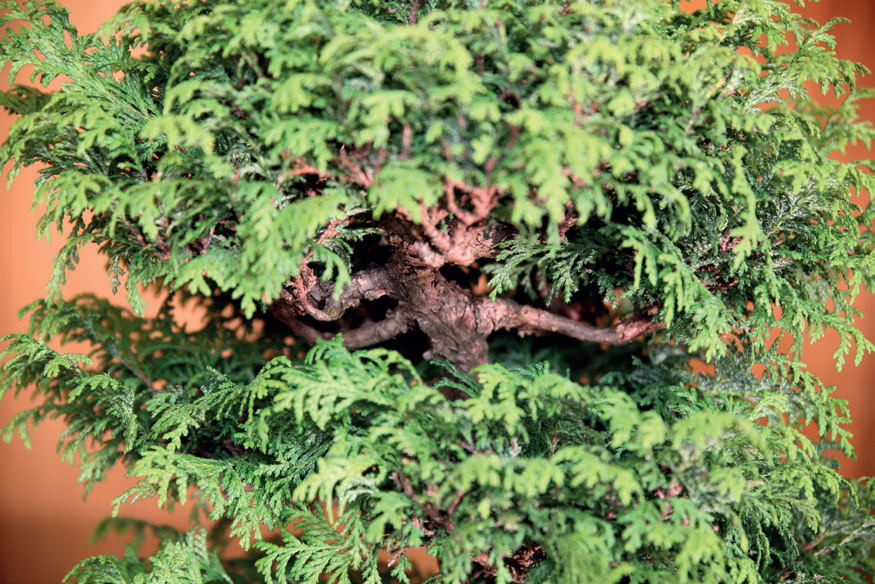
The actual technique works as follows: First, I determine the ideal position of the new roots. Second, with a sharp knife I cut two circles around that specific point into the bark of the trunk or branch. The cut needs to be made deep into the cambium, which can be recognized by its thin, slimy, mostly light green layer below the bark, when you remove it. The bark strip is then taken off and should be the same width as the diameter of the layered branch, which should be one to two centimeters thick. If the diameter is significantly thicker, the strip can be slightly thinner.

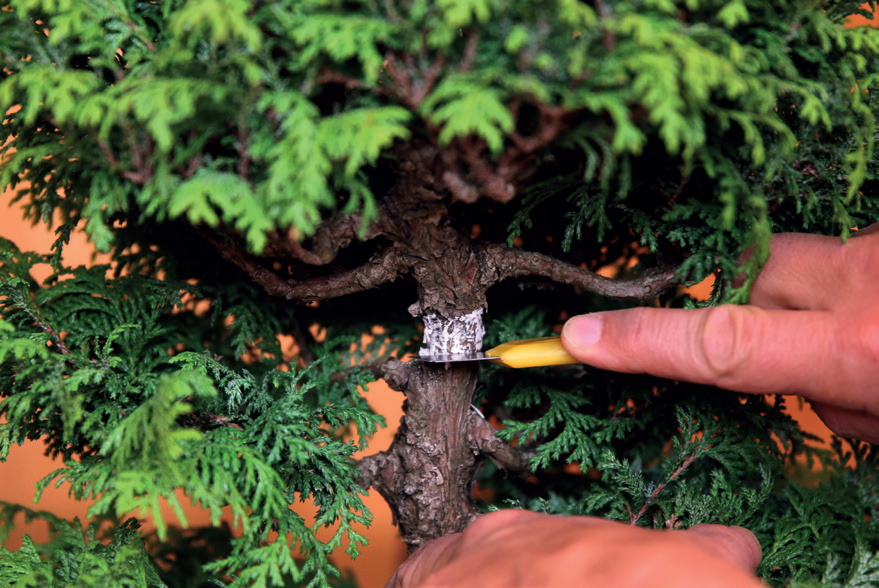
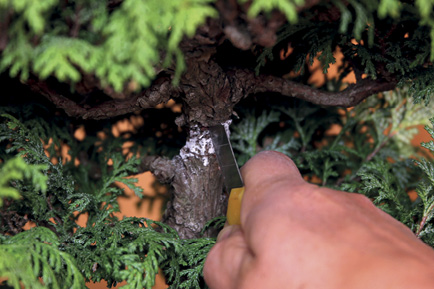
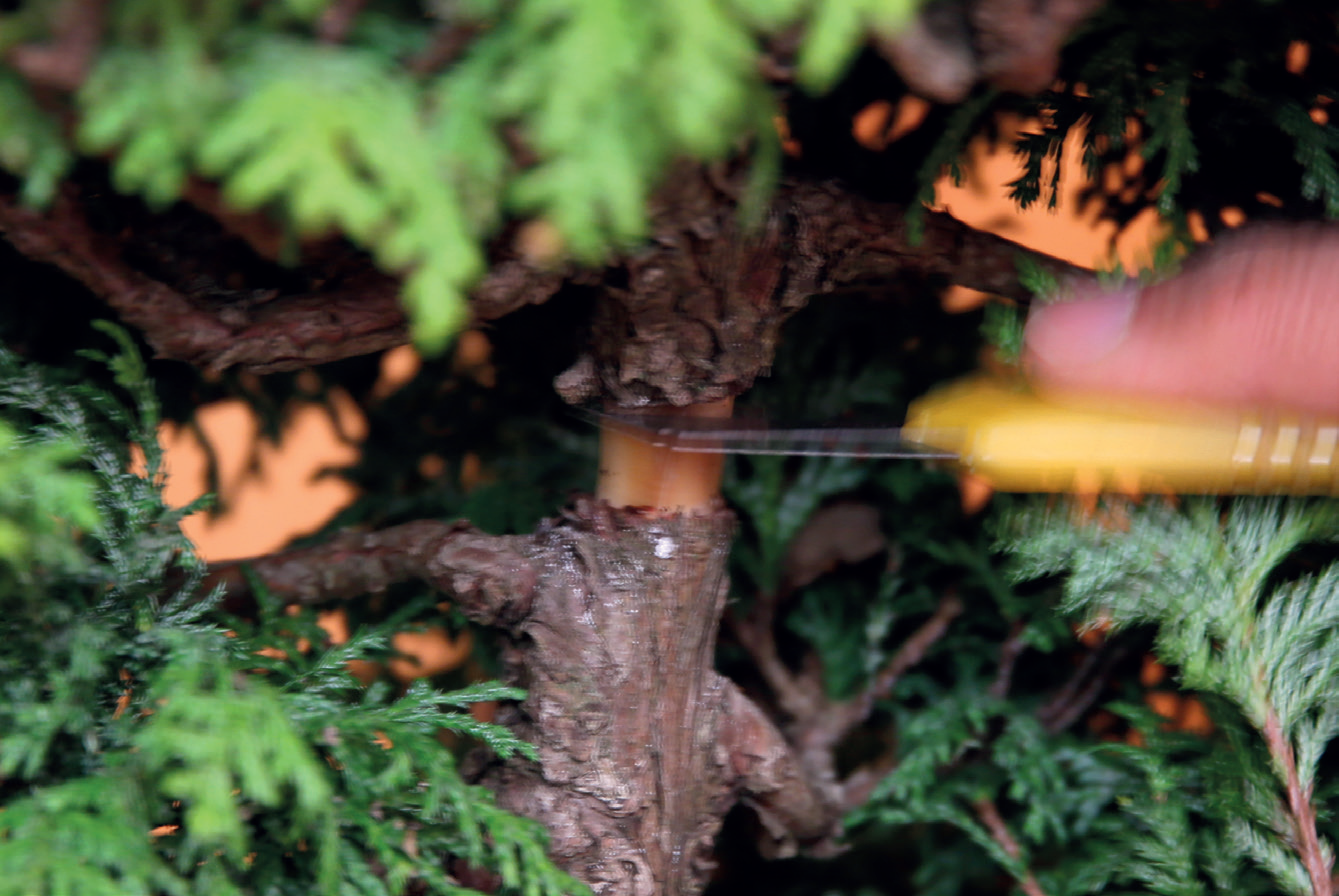

After taking off the bark, I carefully scrape the
cambium layer with a knife. If scraping is not carried
out precisely, the tree could grow a callus. This happened
to me with the apple tree. Do not eliminate the cambium
with branch cutters, as that would mean penetrating
deeper into different levels of the tree and reducing the
live veins, which transport water with nutrients of vital
importance, from bottom to top. It is possible, that the
entire part, intended to be layered, dies off.
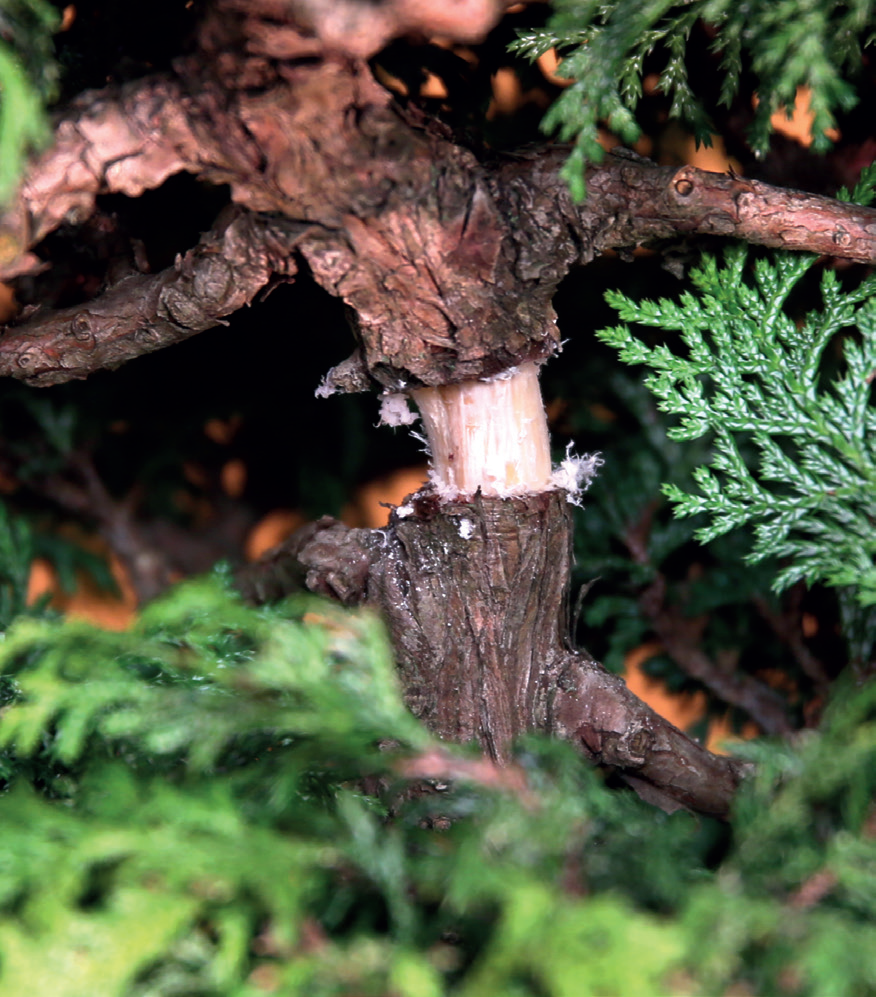
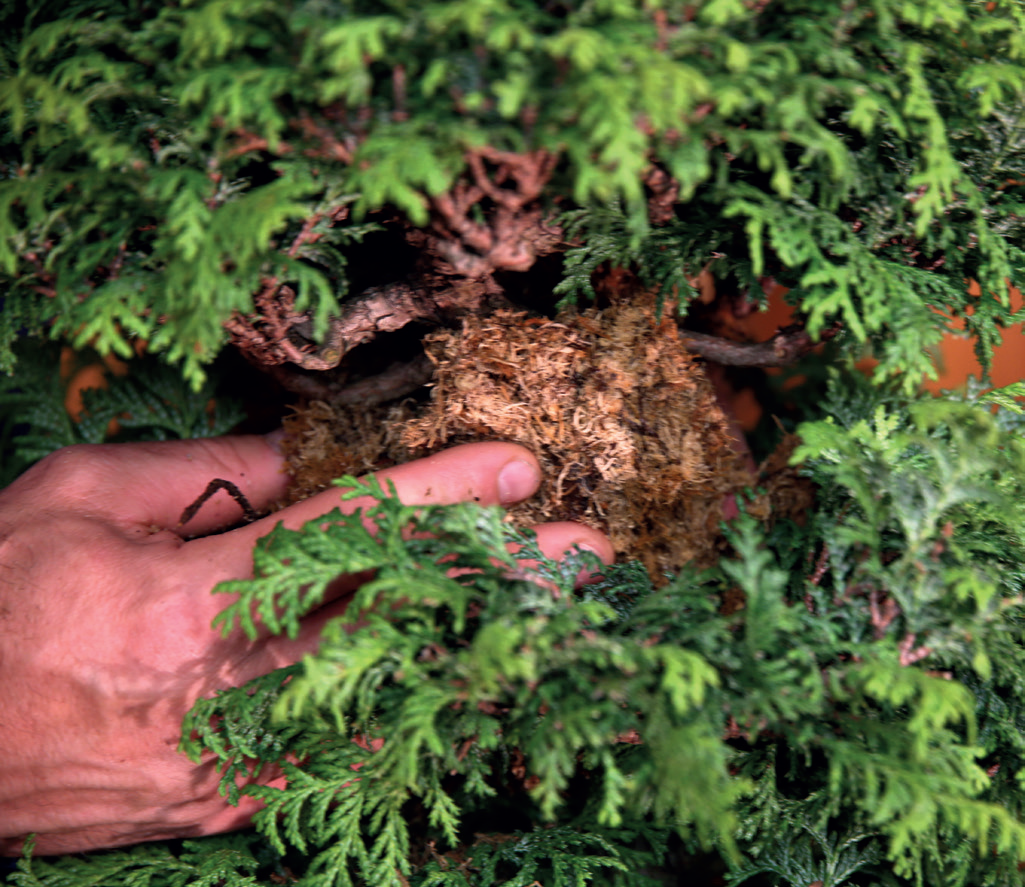
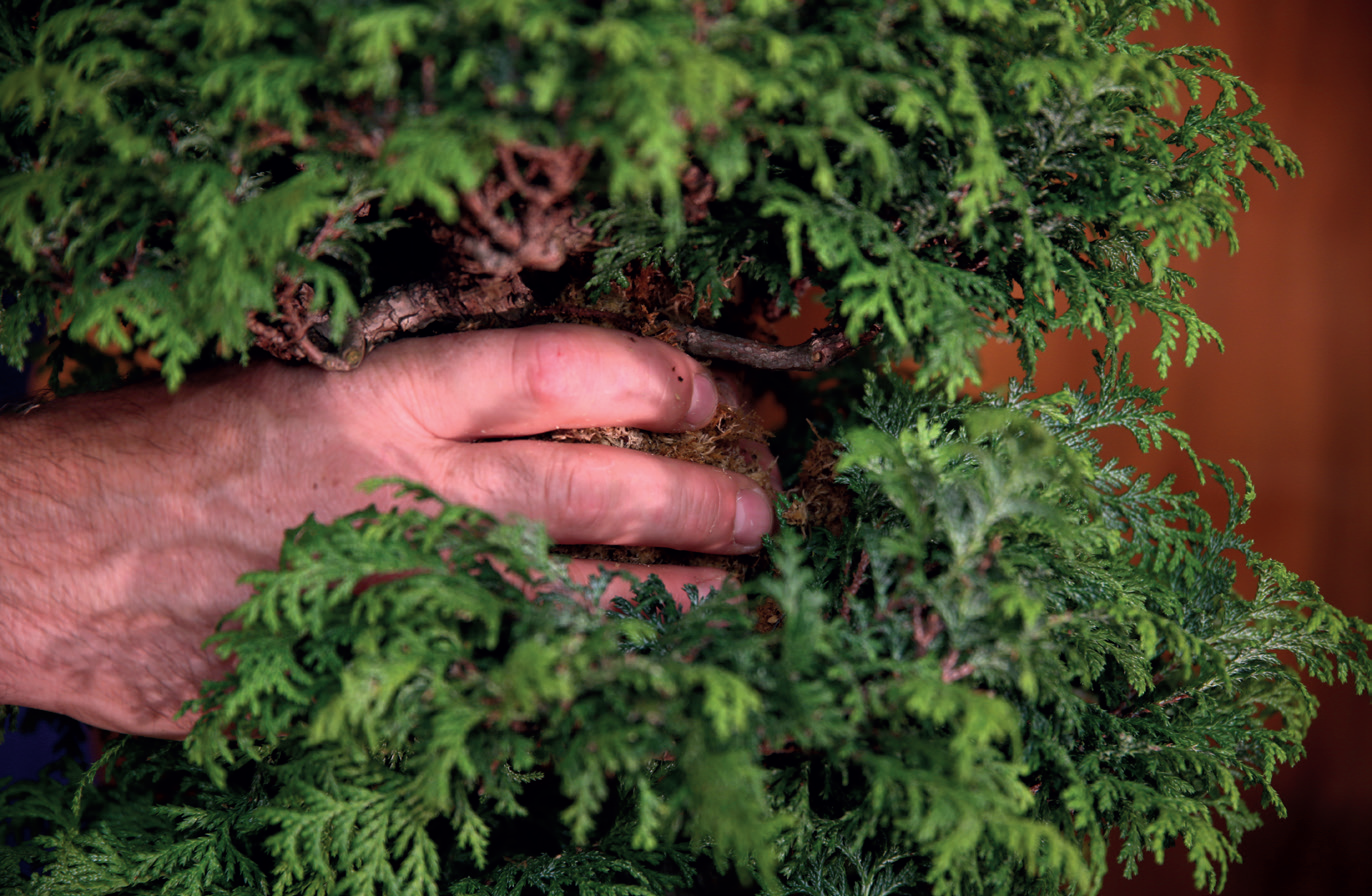
For the root growth, the use of specific rooting
hormones could be useful. They can be applied by
means of a toothbrush, and a bigger quantity of rooting
hormones will stay on the decorticated part. Then I
apply sphagnum moss.
I also tried with different kinds of moss, sometimes
it works, however, the biggest success is achieved with
sphagnum moss.
It should not be too dry or too humid. Take a handful
of it, dip it into water and squeeze it in order to eliminate
most of the water, and have a damp cloth.
After taking off the bark, I carefully scrape the
cambium layer with a knife. If scraping is not carried
out precisely, the tree could grow a callus. This happened
to me with the apple tree. Do not eliminate the cambium
with branch cutters, as that would mean penetrating
deeper into different levels of the tree and reducing the
live veins, which transport water with nutrients of vital
importance, from bottom to top. It is possible, that the
entire part, intended to be layered, dies off.
For the root growth, the use of specific rooting
hormones could be useful. They can be applied by
means of a toothbrush, and a bigger quantity of rooting
hormones will stay on the decorticated part. Then I
apply sphagnum moss.
I also tried with different kinds of moss, sometimes
it works, however, the biggest success is achieved with
sphagnum moss.
It should not be too dry or too humid. Take a handful
of it, dip it into water and squeeze it in order to eliminate
most of the water, and have a damp cloth.
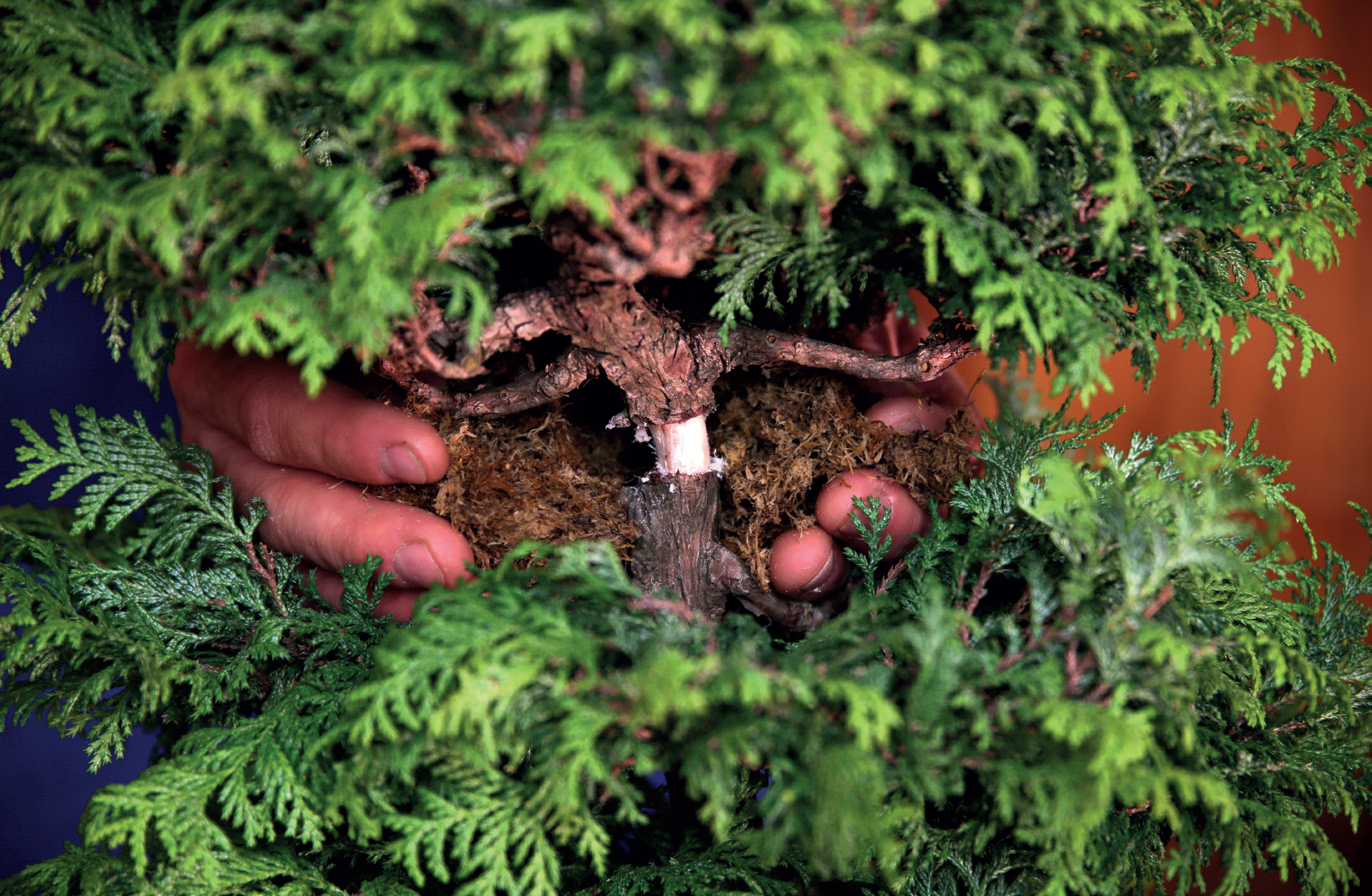
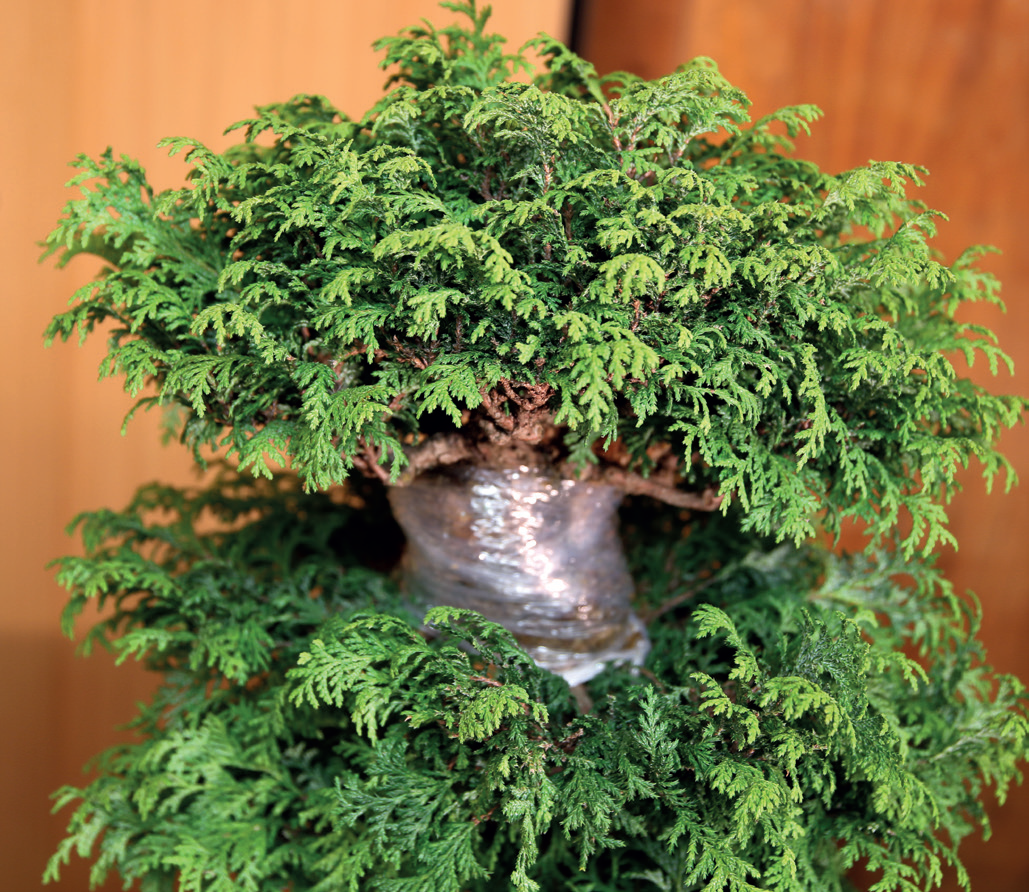
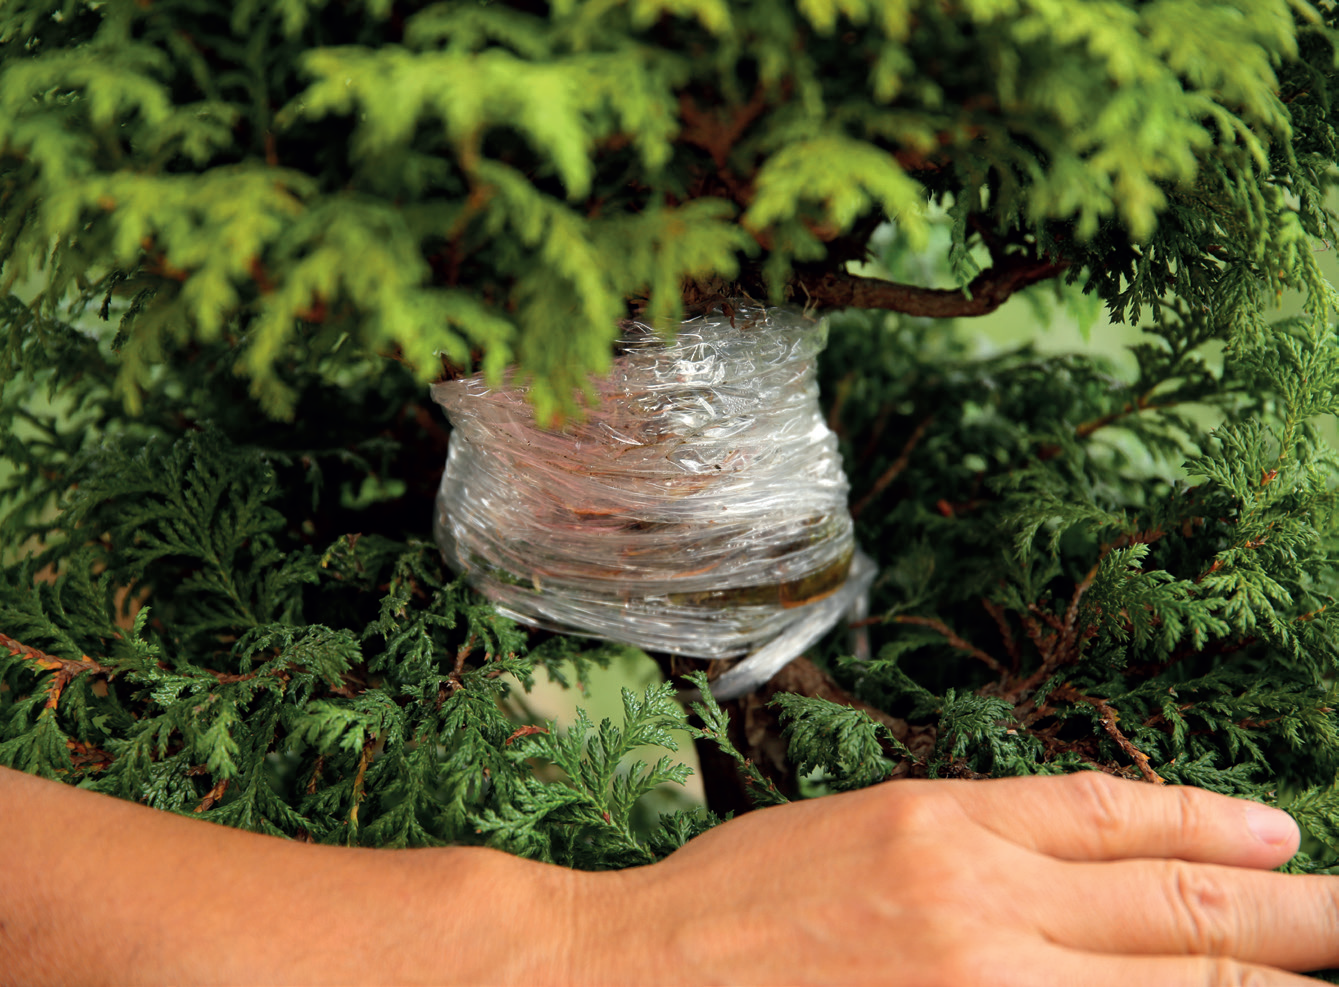
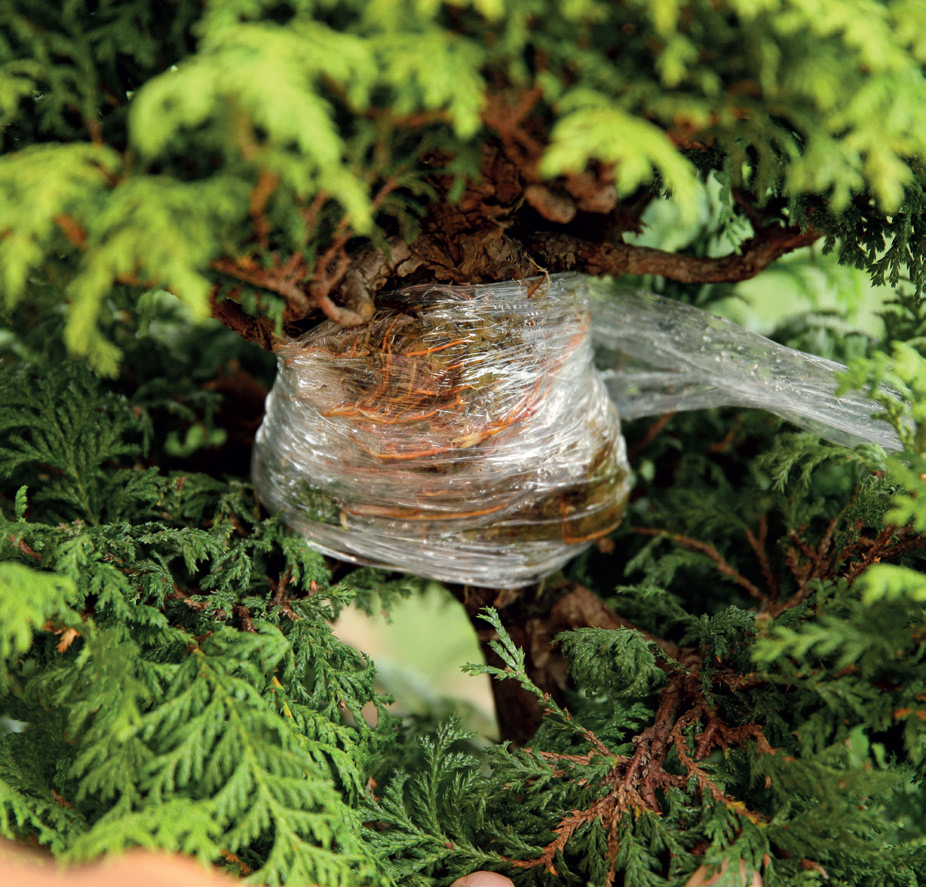
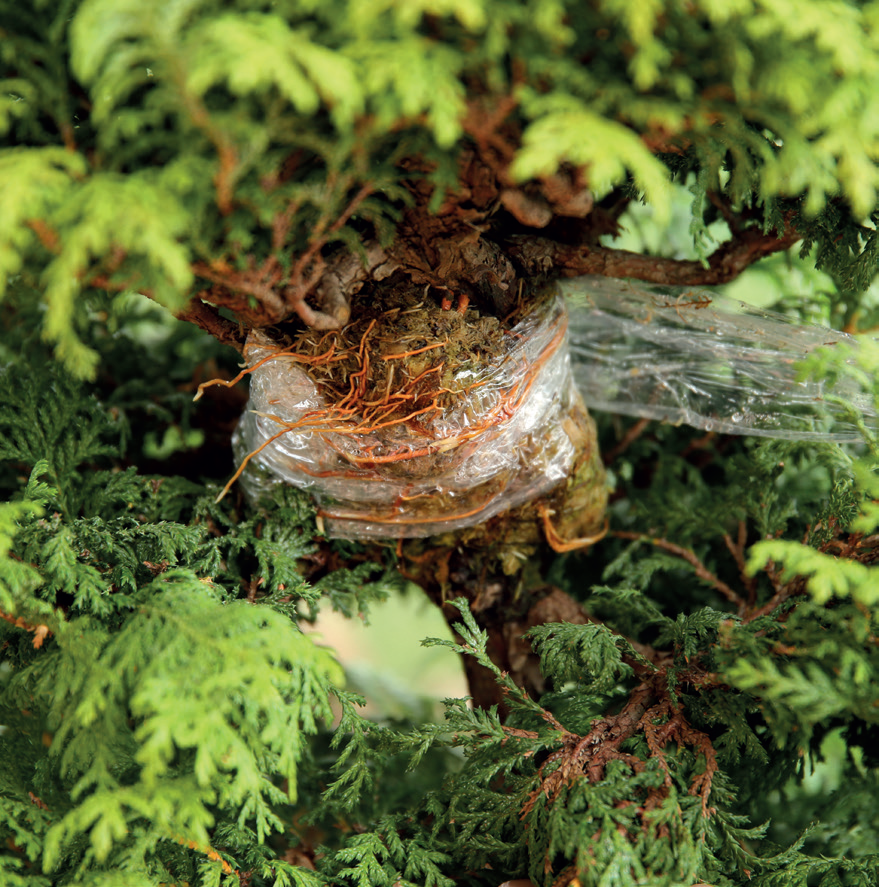
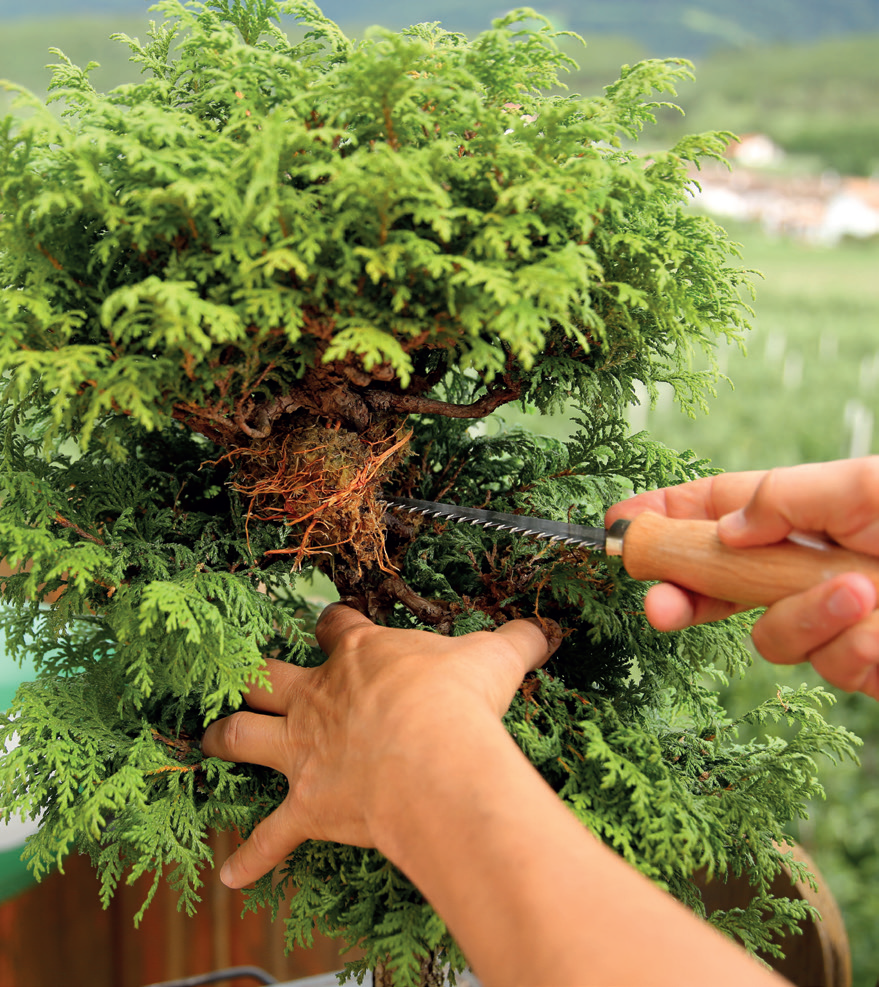
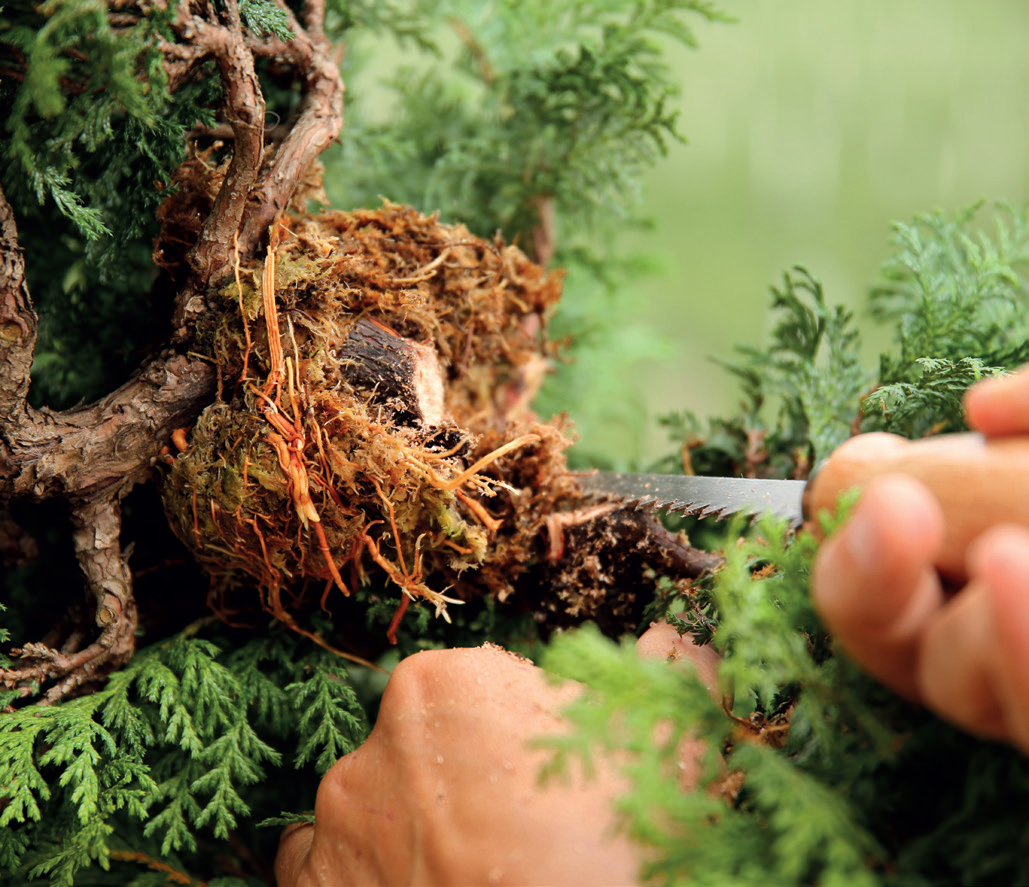
The root ball was prepared for cutting off by carefully
unwrapping the film. I position the moist moss around the circle. I close the entire package with a transparent film—a normal, cling film used at home. I fix it either with the film itself or by means of a wire. Obviously, you can use any other type of plastic wrap. The important thing is that the moss ball keeps the moisture inside.
Some bonsai experts have had good results with
dark film, however, I have not noticed any significant
difference. Should it stay quite some time on the trunk or branch, I usually sprinkle it with water if necessary, for example with a syringe. I prefer the cling film, as it allows me to observe the condition of the moss and to spot the development of new roots. Therefore, I am able to decide the moment, when enough roots have grown, and time will be right for sawing the layered part. For that passage I do not need to move the film. Usually, this happens after one or two months. That is actually a very intense moment, accompanied by palpitations.
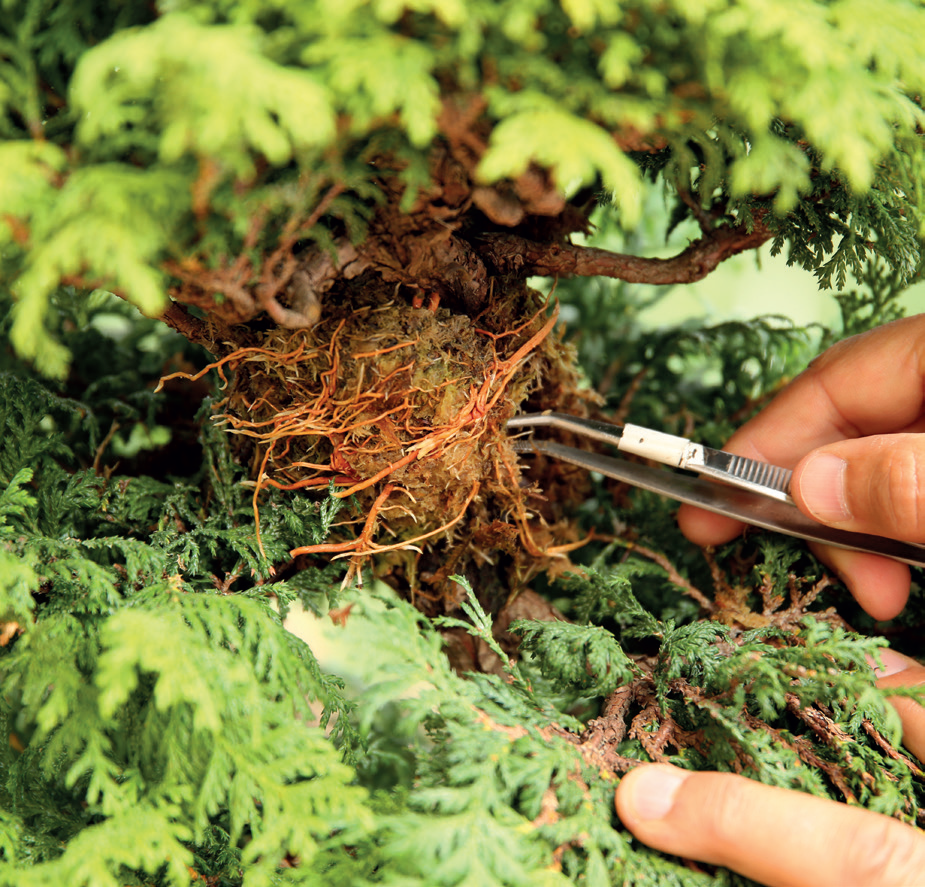
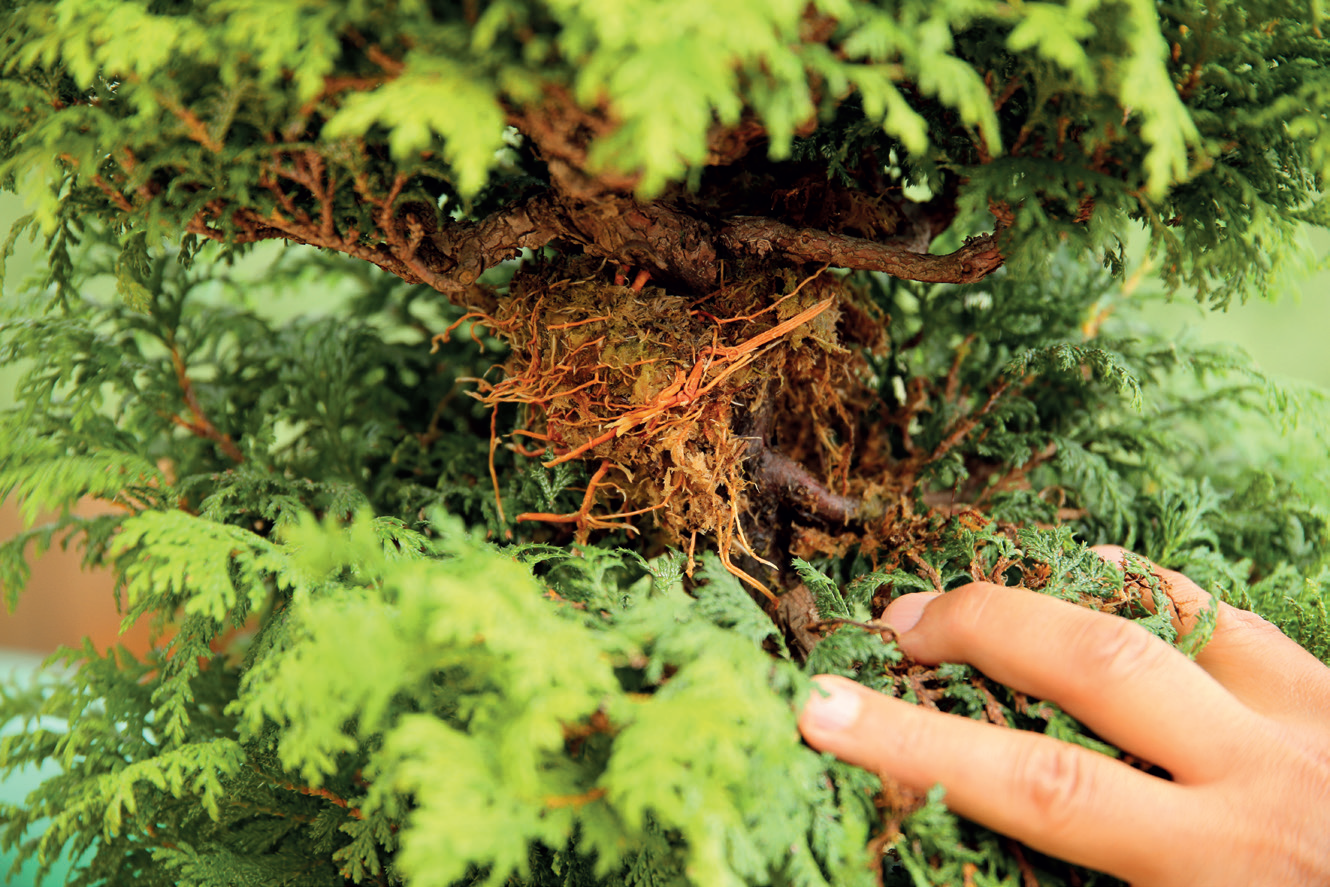
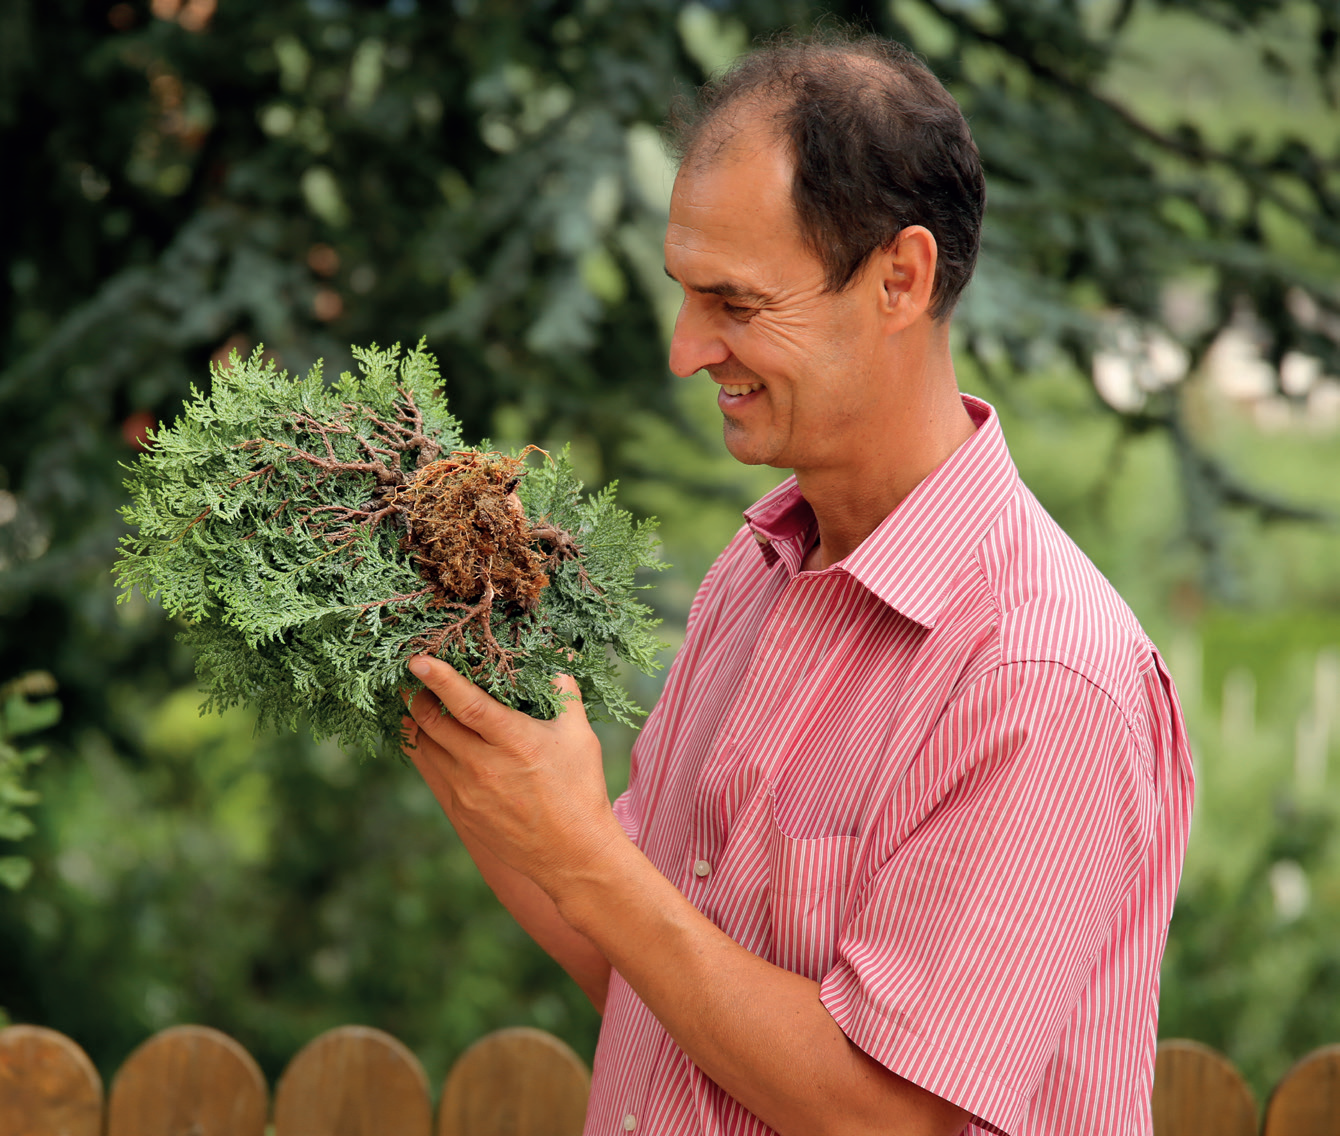
I cut the new tree just below the new root ball.
Cradling the new tree in my hands reminds me of
the emotion I felt when I first held my children in my
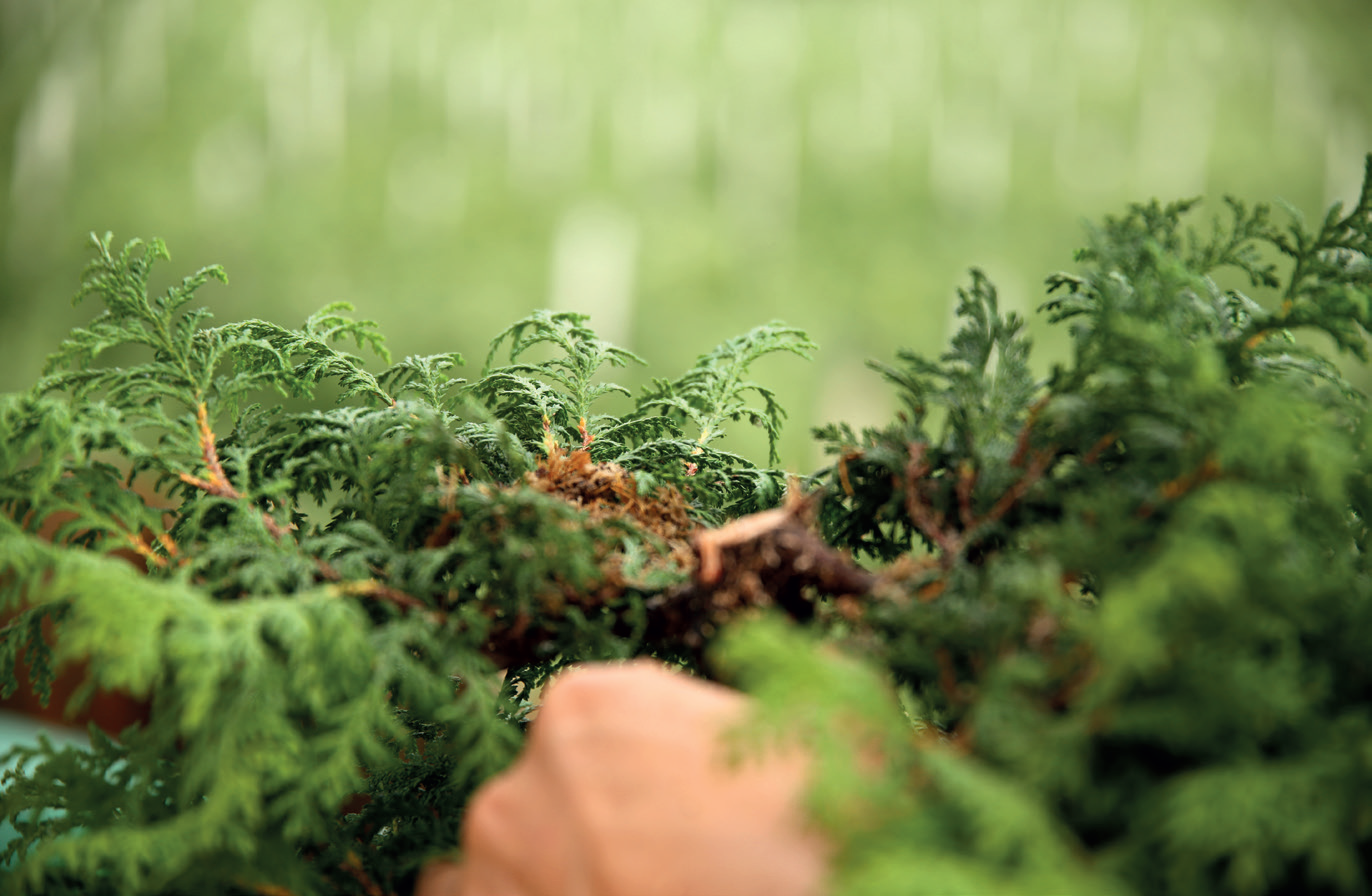
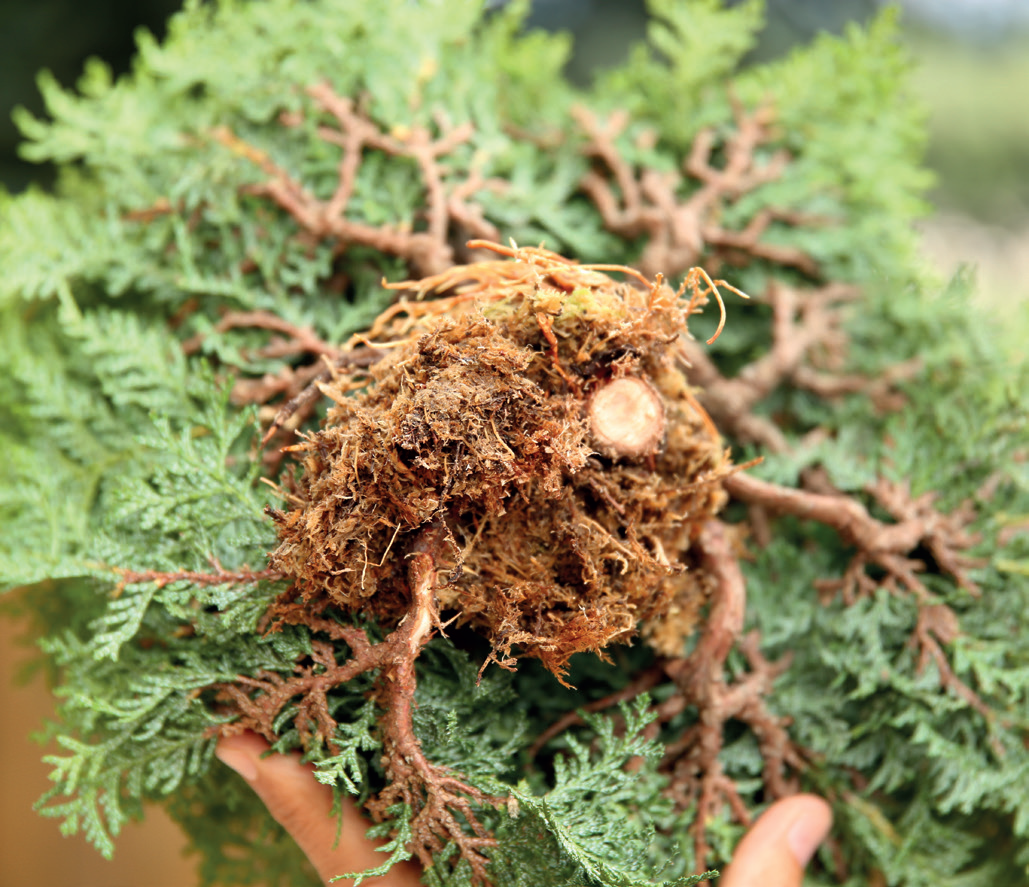
arms. The feeling was not as strong, of course, but it was similar. The next step is usually to carefully eliminate the external moss. Depending on the quantity of new roots, I cut superfluous branches in order to create a balance between roots and foliage.
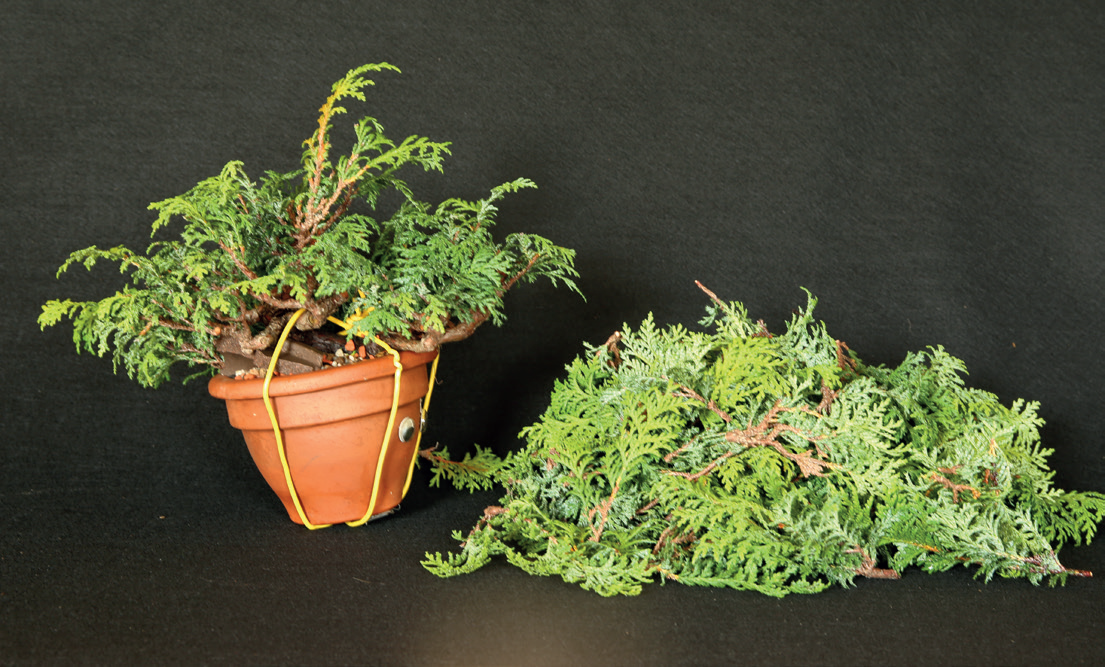
The prepared tree is planted together with the
remaining moss in a cultivation pot. While fixing the
tree, I am not allowed to lay the fixing wires over the
roots— as it happens with mature bonsai—but I fix the tree by wiring the trunk or the strong branches. The tree should not wobble or be loose; it is better to apply one more wire if necessary.
The result does not necessarily have to be beautiful,
it only has to fulfil its purpose. I put the tree in a protected, sunny place, and allow it to grow freely.
I cut the new tree just below the new root ball.
Cradling the new tree in my hands reminds me of
the emotion I felt when I first held my children in my
arms. The feeling was not as strong, of course, but it was similar. The next step is usually to carefully eliminate the external moss. Depending on the quantity of new roots, I cut superfluous branches in order to create a balance between roots and foliage.
The prepared tree is planted together with the
remaining moss in a cultivation pot. While fixing the
tree, I am not allowed to lay the fixing wires over the
roots— as it happens with mature bonsai—but I fix the tree by wiring the trunk or the strong branches. The tree should not wobble or be loose; it is better to apply one more wire if necessary.
The result does not necessarily have to be beautiful,
it only has to fulfil its purpose. I put the tree in a protected, sunny place, and allow it to grow freely.


| Order your copy of Bonsai Shohin Passion: | English Version | Italian Version | French Version |